The Windows SSH Swiss Army Knife: A Complete Guide to Tunnels, VPNs, and Remote Routing
A complete guide to mastering SSH tunnels, SOCKS proxies, and remote routing on Windows.
{#top}
In the world of IT and shipping logistics, we often deal with remote servers, private databases, and the need for secure connections. While many think of SSH (Secure Shell) as just a way to type commands into a remote computer, it is actually a powerful networking tool.[cite: 1]
If you are on Windows 10 or 11, you already have these tools built-in. This guide will take you from “What is SSH?” to managing your own secure tunnels and remote filesystems.[cite: 1]
Table of Contents
- The “Privacy Tunnel” (Web Proxy)
- The “Jump Host” (Security Gateways)
- The “Projector” (Sharing Local Work)
- The “Virtual Drive” (Remote Files)
- The “Shortcut System” (SSH Config)
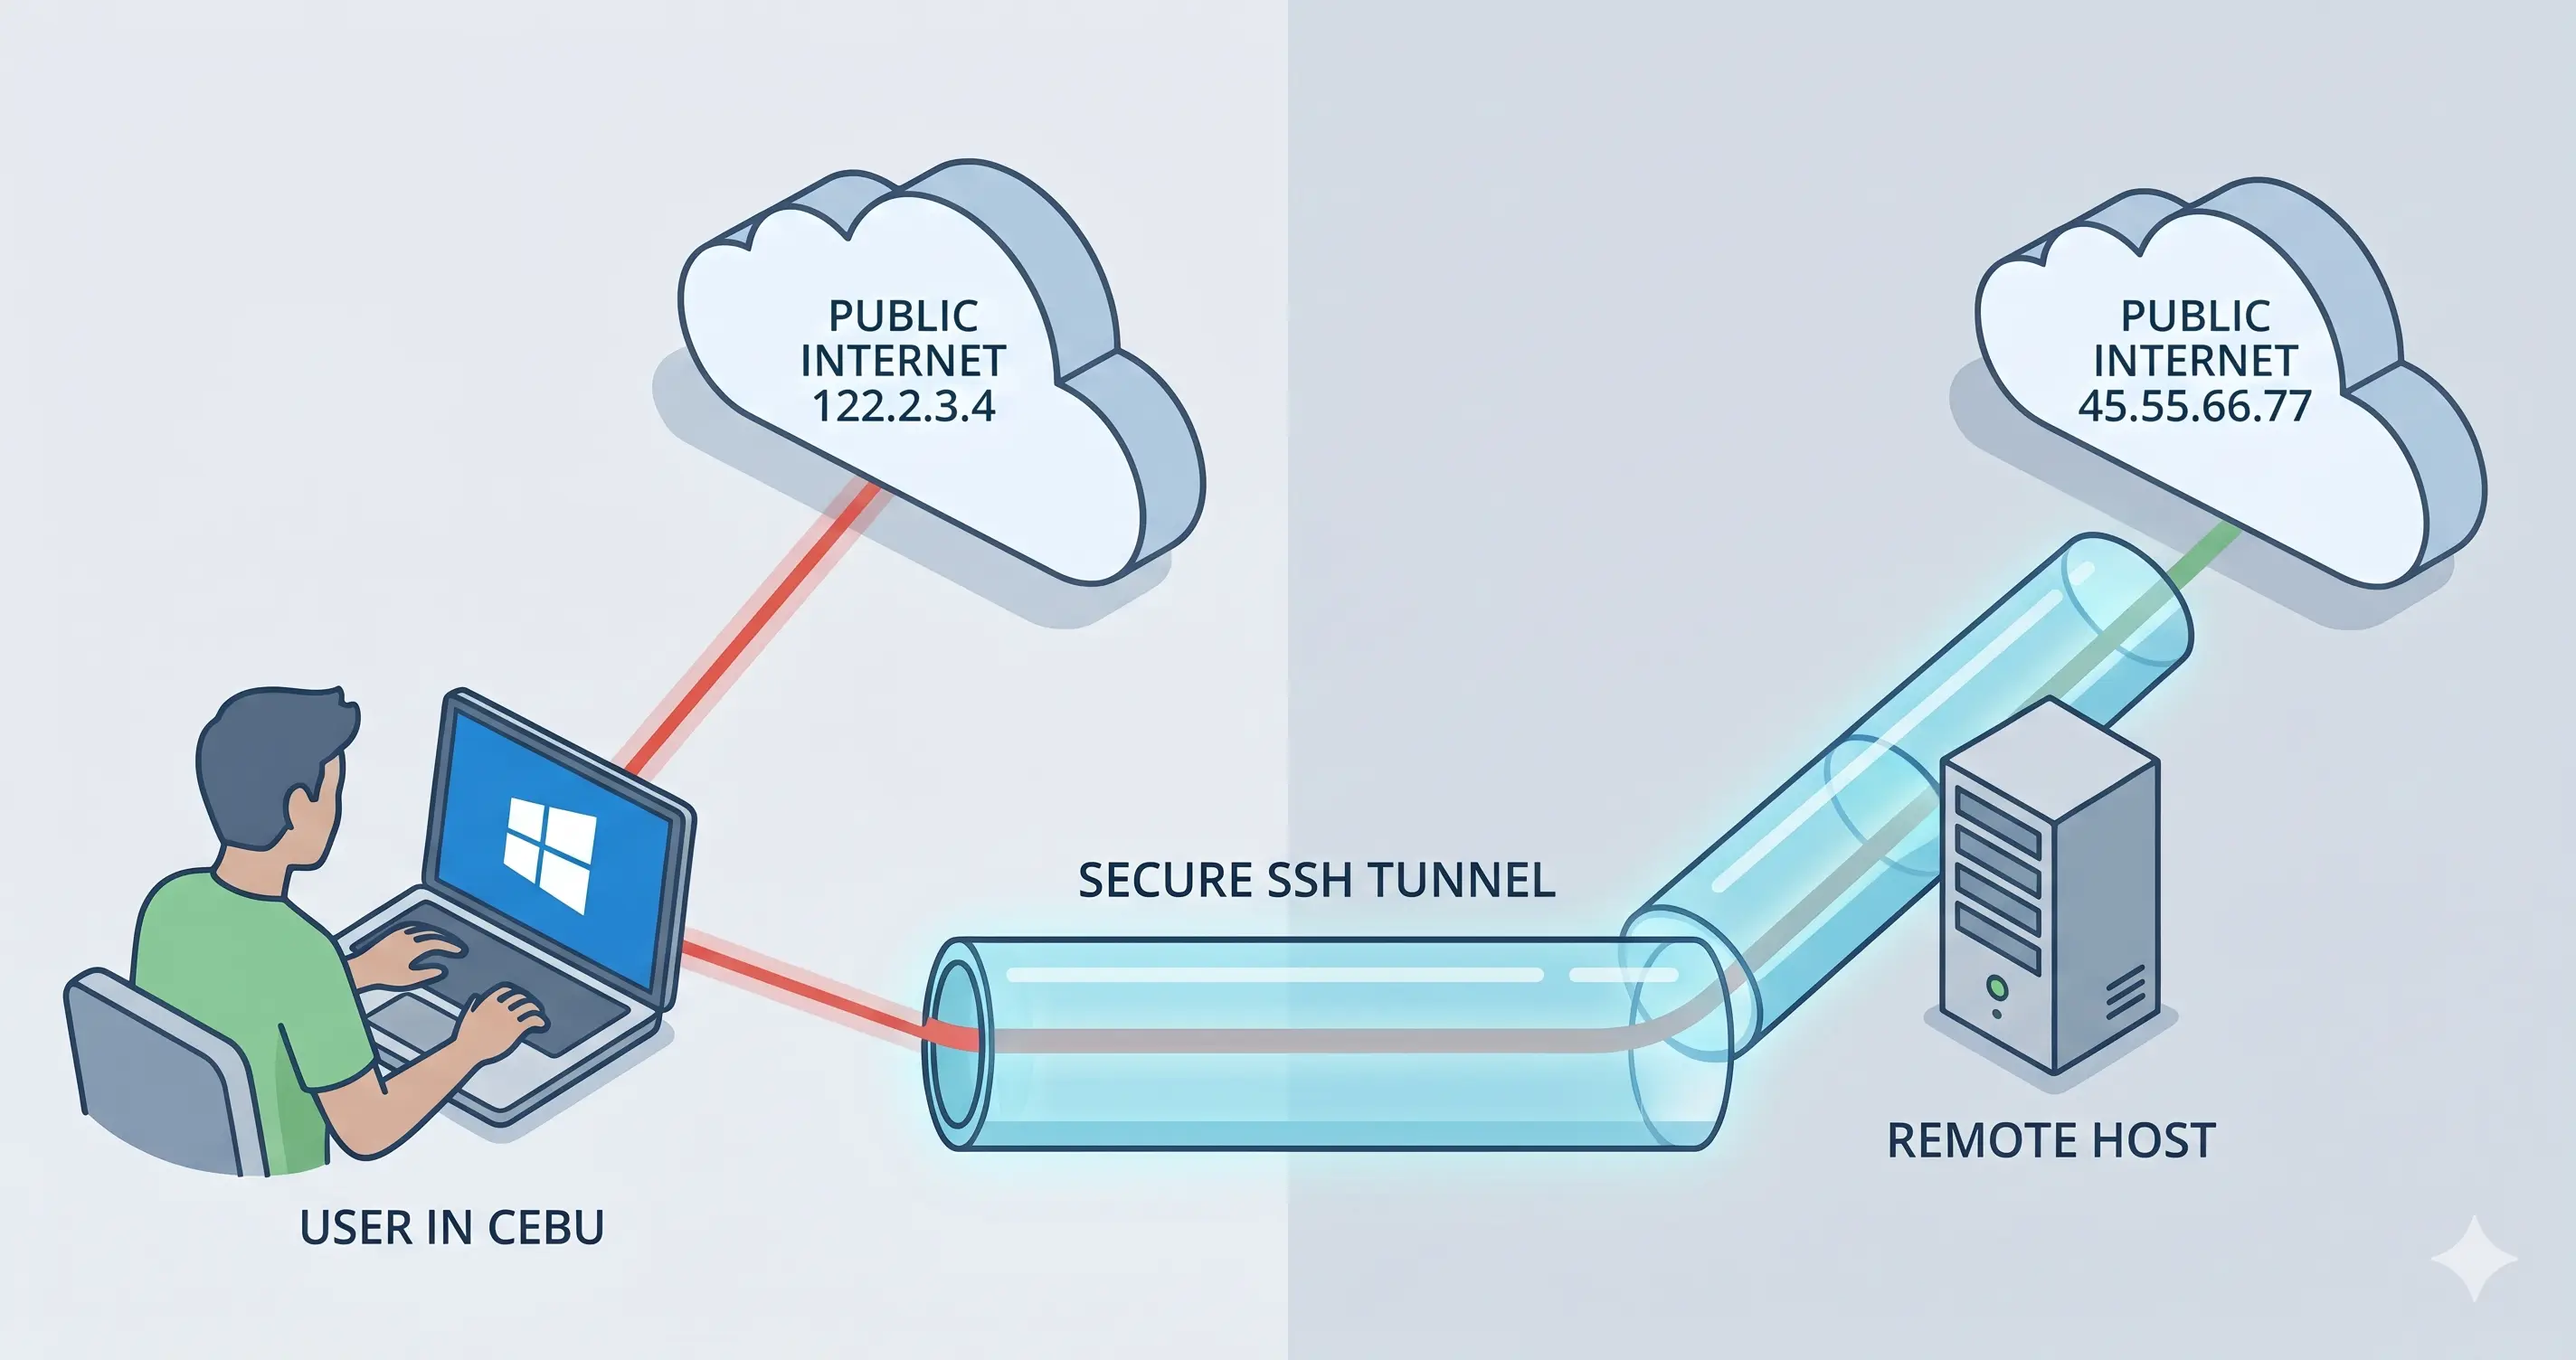
1. The Privacy Tunnel: Browsing with your Server’s IP
Goal: You want to browse the internet so that websites see your server’s IP address instead of your own. This is like a DIY VPN.[cite: 1]
The PowerShell Command:
1
2
ssh -D 1080 user@host.domain.net
-D 1080: Opens a “Dynamic” gateway on your computer (port 1080).
The Browser Setup (Firefox):
- Go to Settings > search for Proxy.
- Select Manual Proxy Configuration.
- Under SOCKS Host, enter
127.0.0.1and Port1080. - Crucial: Check the box “Proxy DNS when using SOCKS v5”. This ensures your ISP cannot see which sites you are visiting.
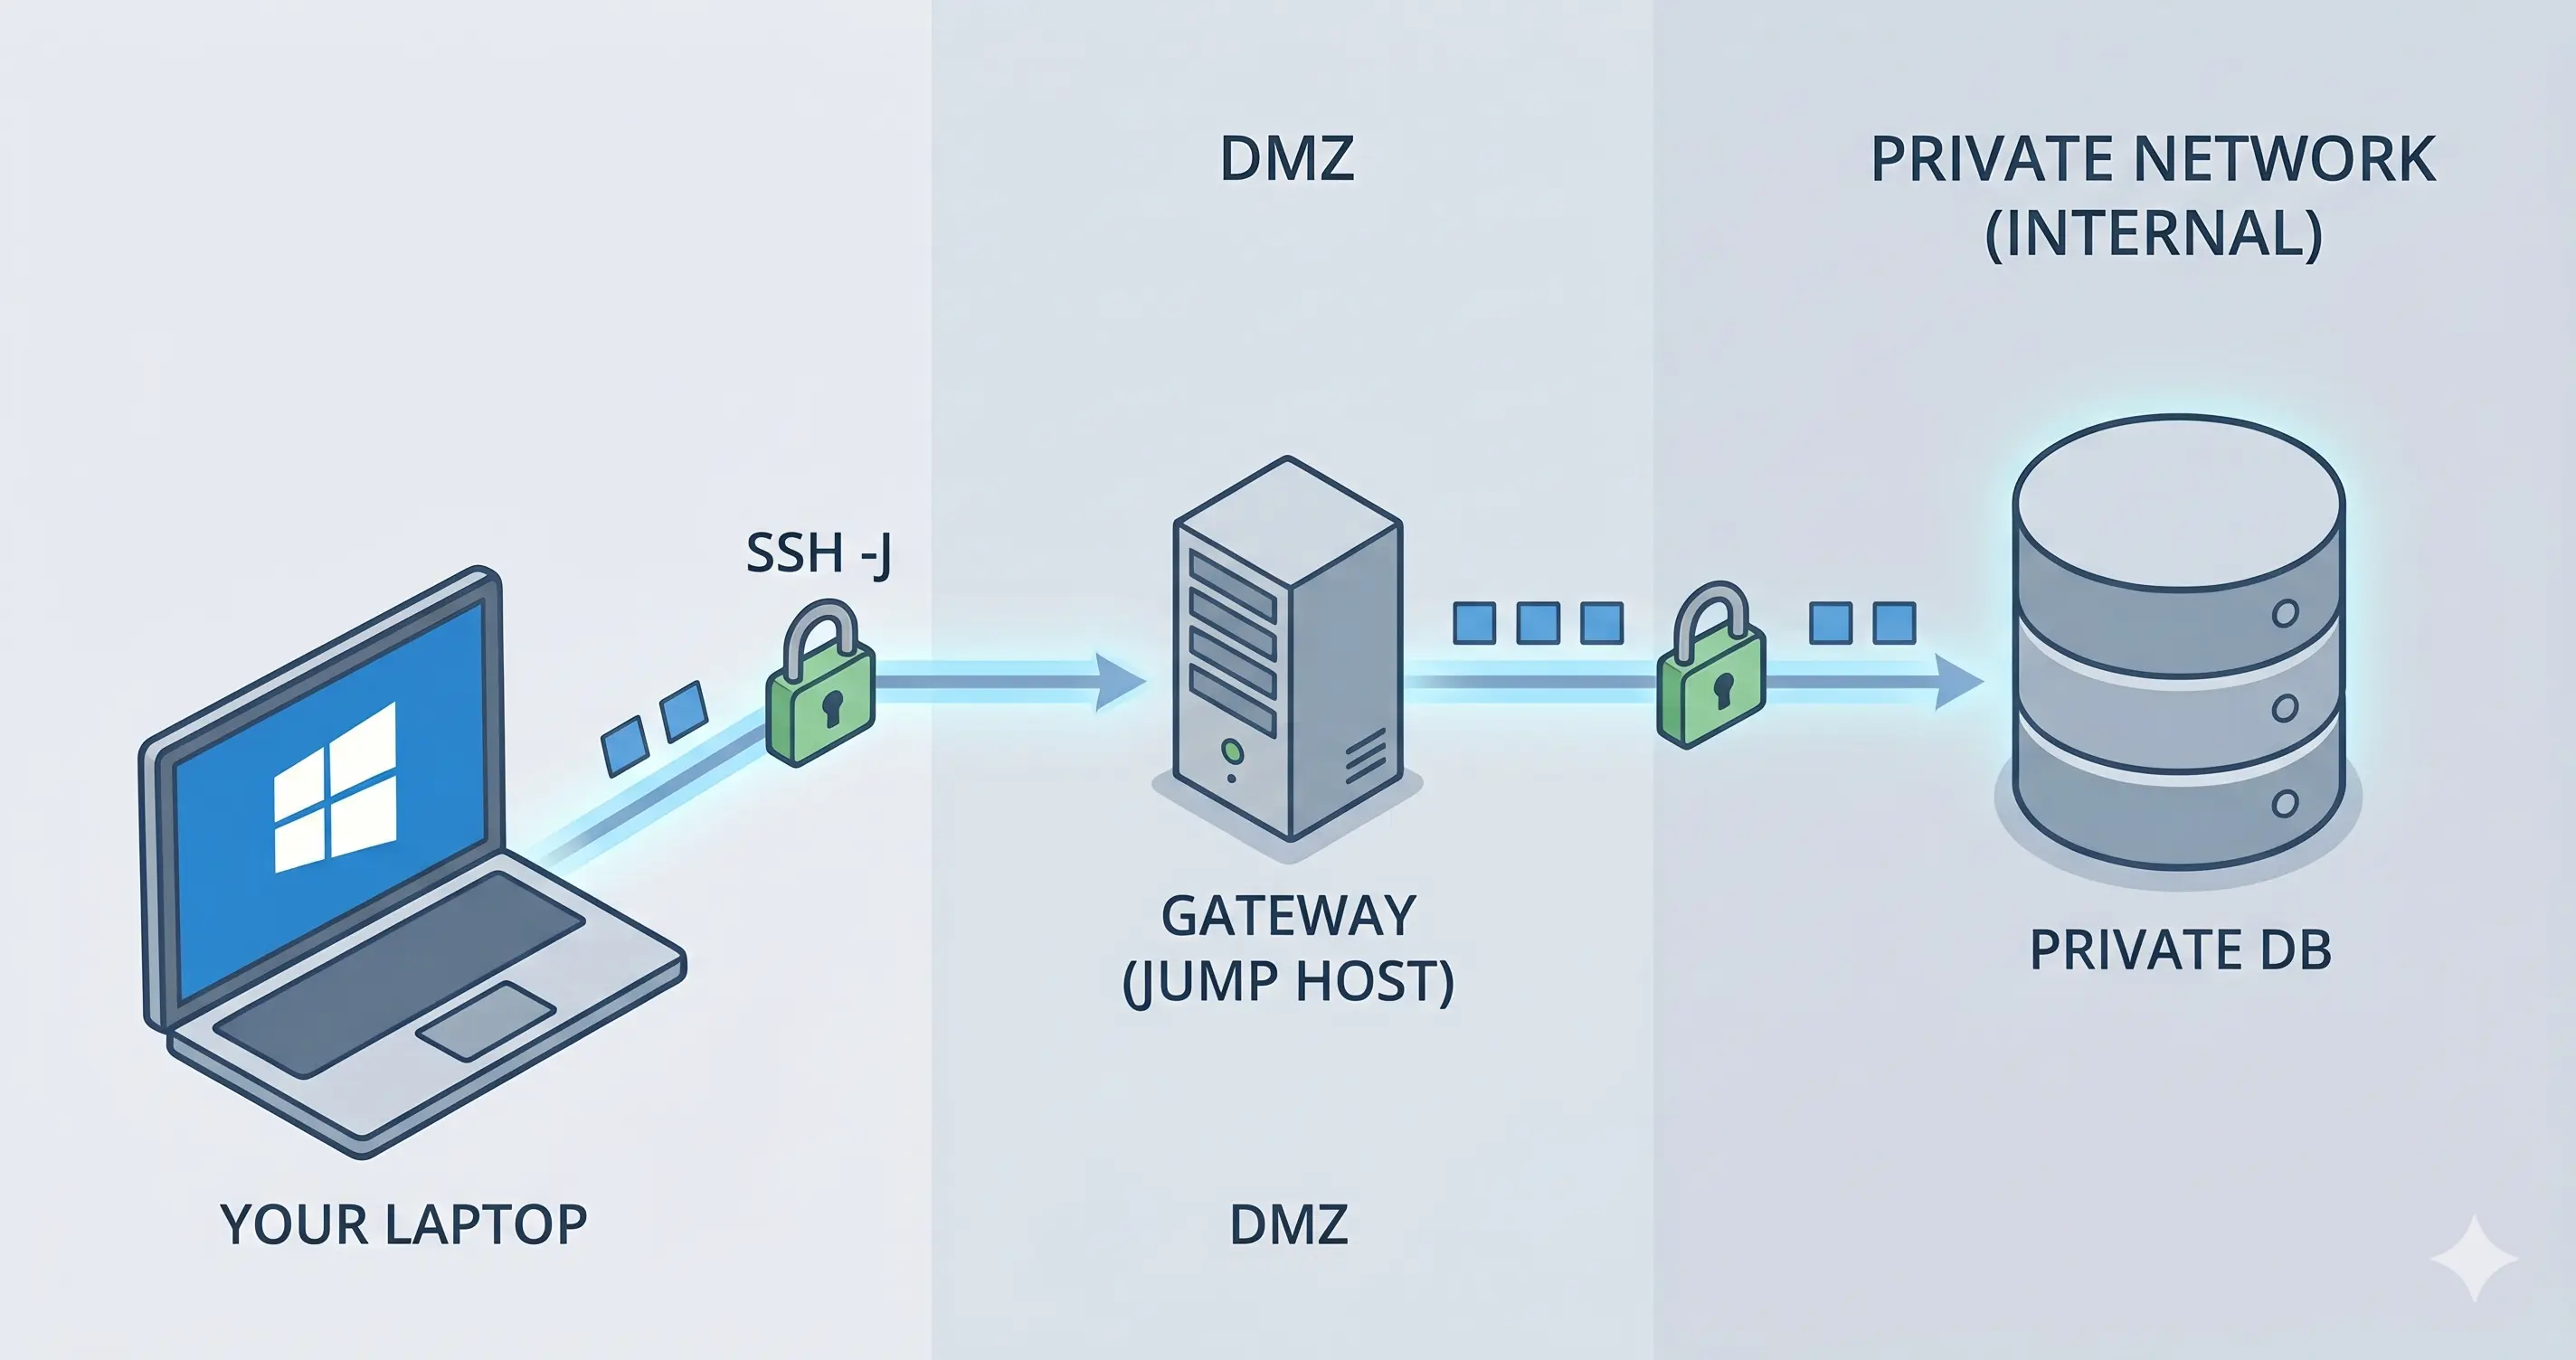
2. The Jump Host: Accessing Private Servers
Goal: You need to reach a database server that isn’t connected to the internet. You have to “jump” through a gateway server first.
The PowerShell Command:
1
2
ssh -J gatekeeper_user@gatekeeper_ip final_user@private_ip
Windows creates a secure bridge through the middle server. Your password/keys are only shared with the final destination, keeping the “jump” server secure.
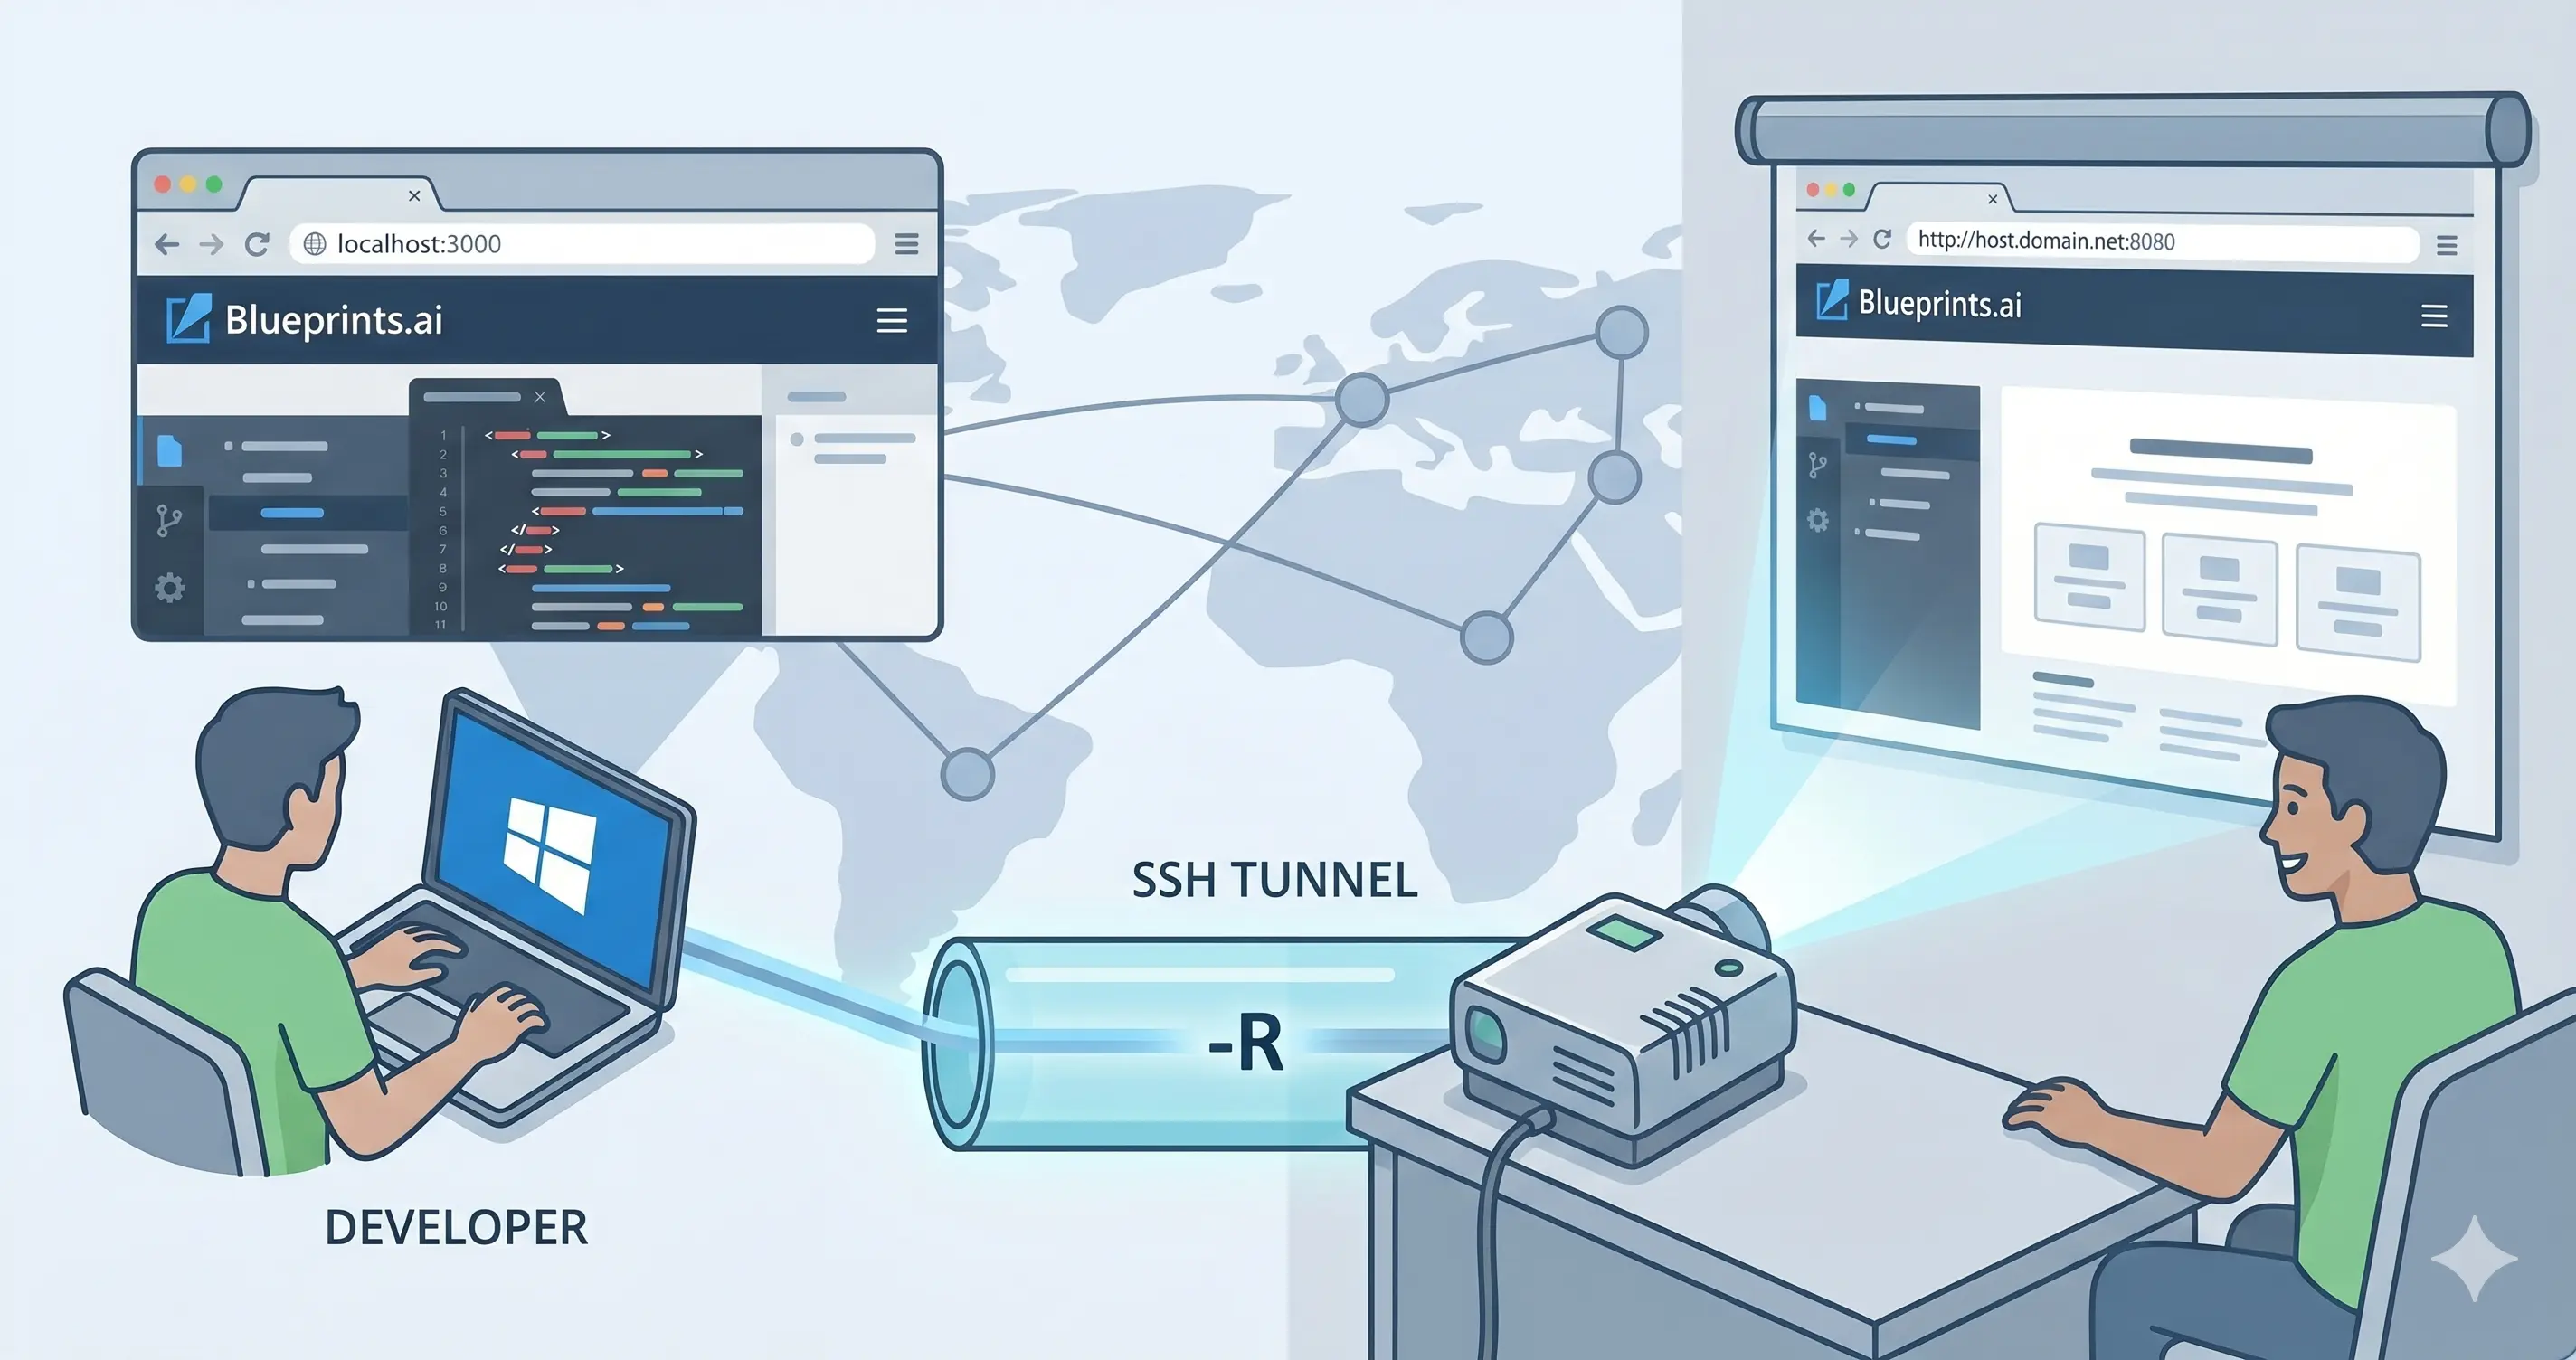
3. The Projector: Showing Local Work to the World
Goal: You are developing a website (like Blueprints.ai) on your laptop (localhost:3000). You want a colleague in another city to see it live.
The PowerShell Command:
1
2
ssh -R 8080:localhost:3000 user@host.domain.net
- Now, anyone who visits
http://host.domain.net:8080will be looking at the website running on your laptop.
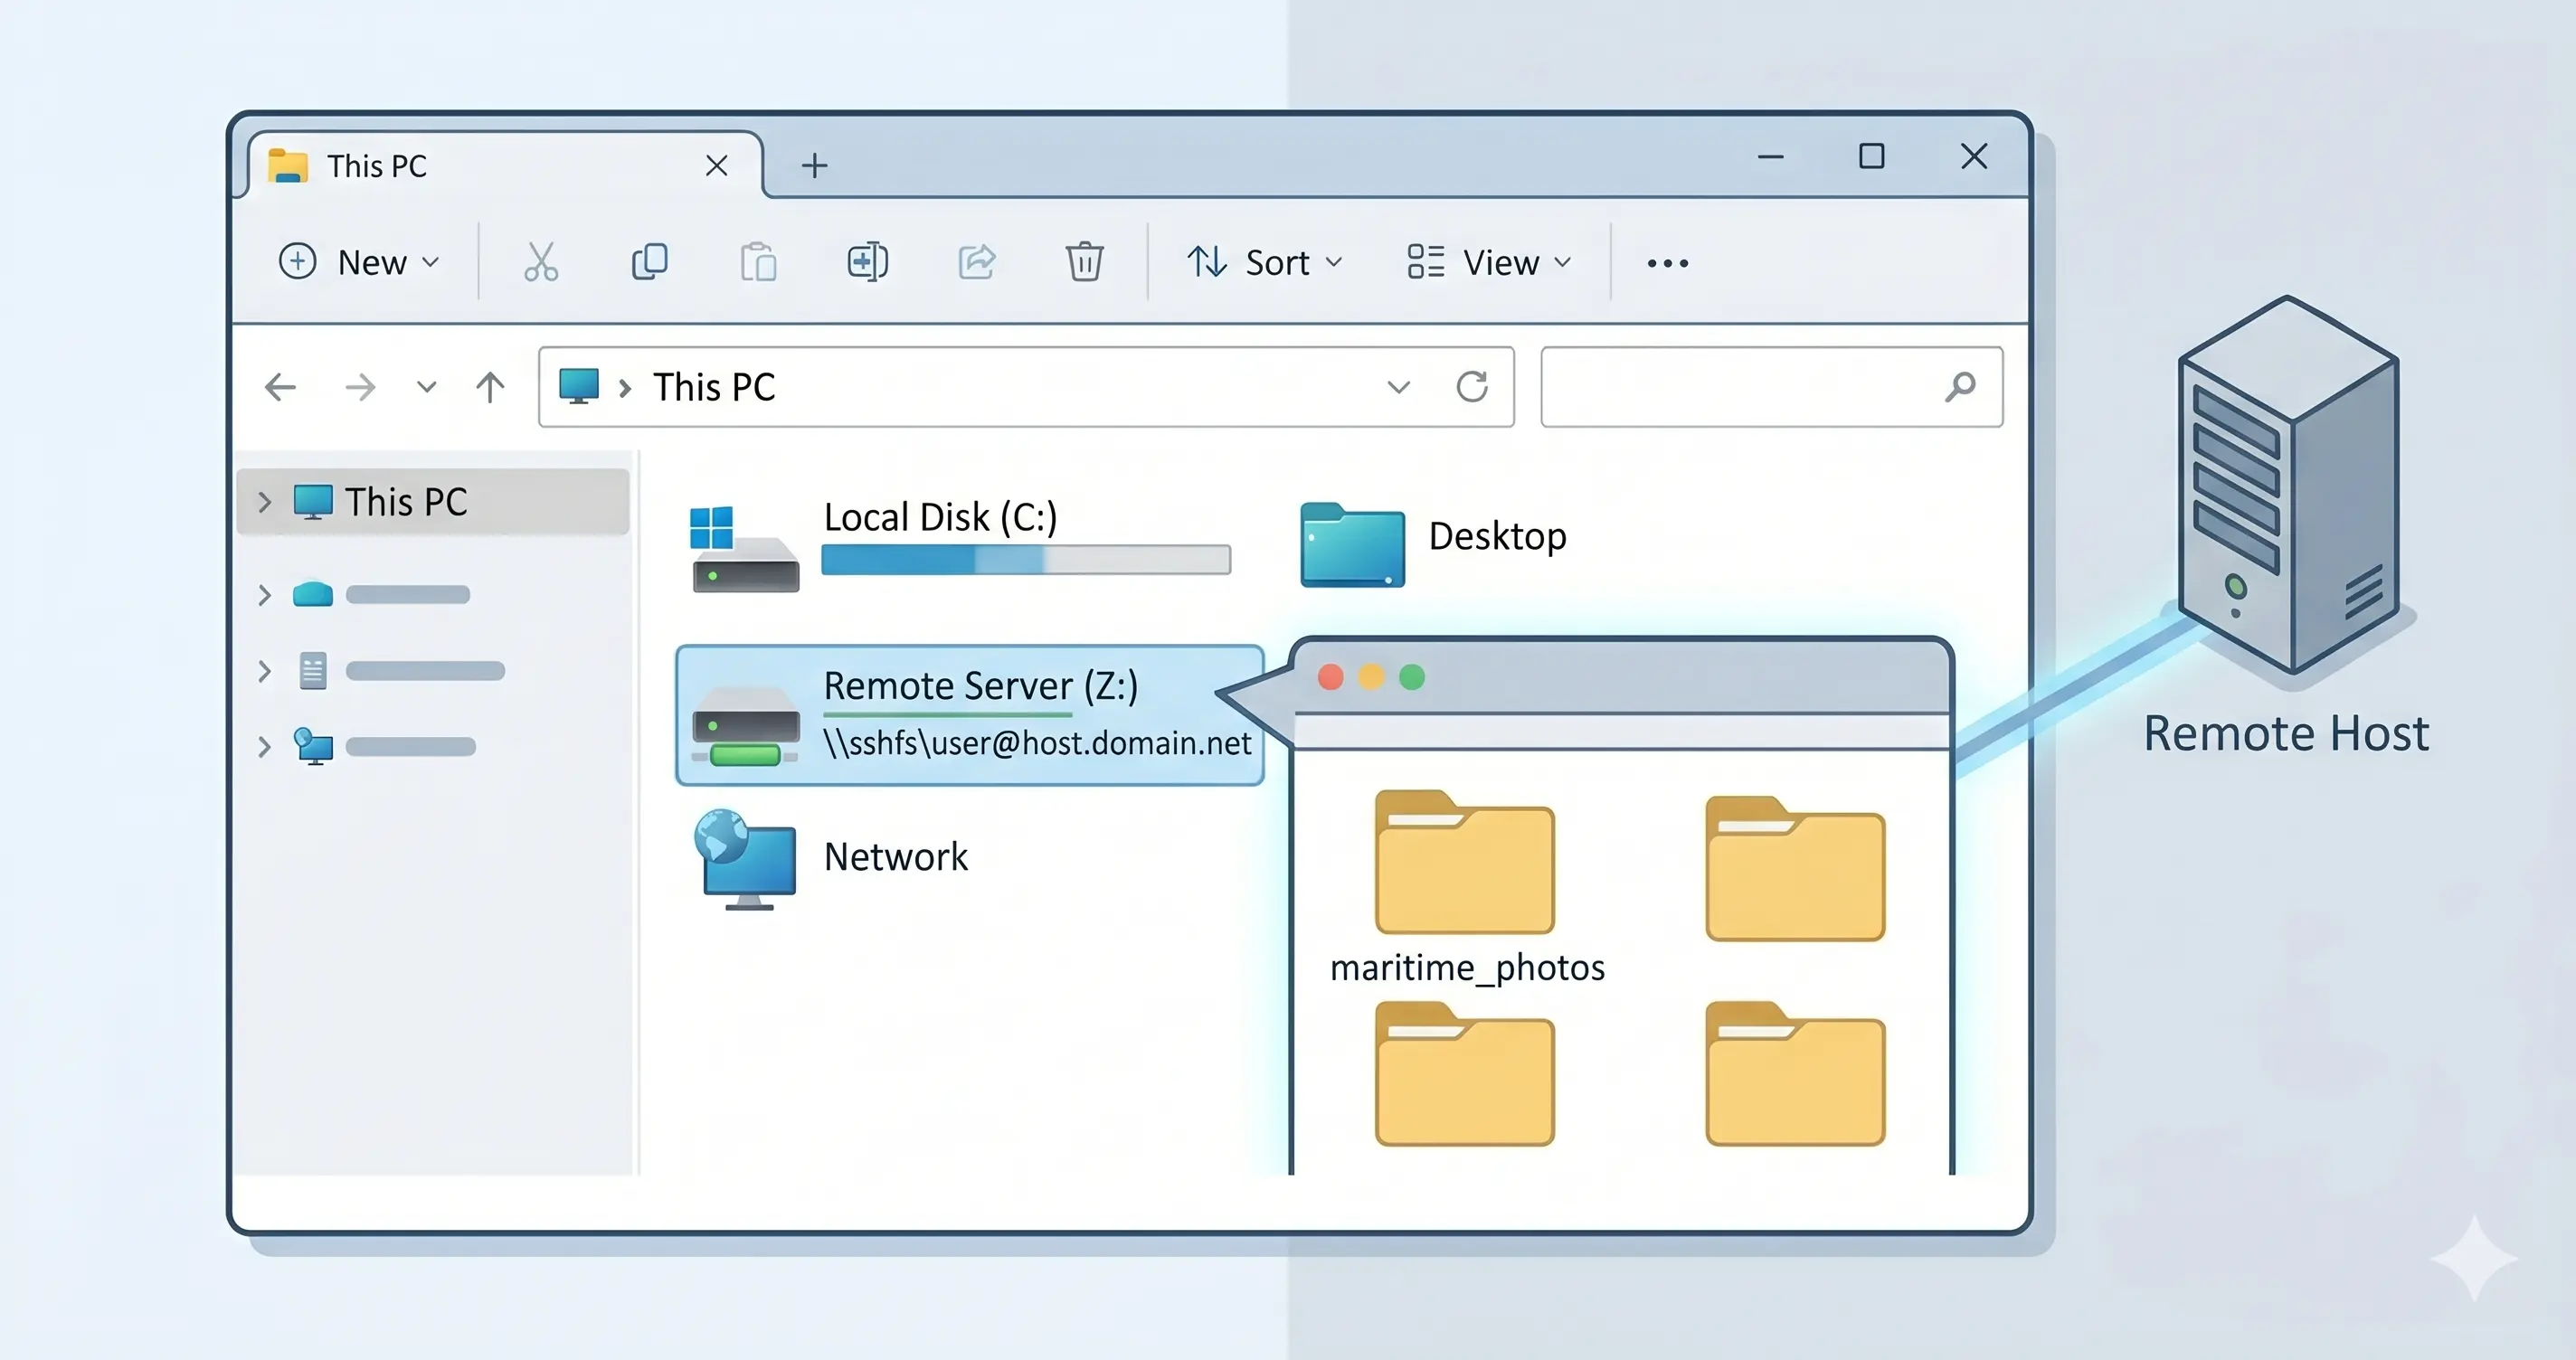
4. The Virtual Drive: Remote File Management
Goal: You want to manage your server files (like maritime photos for the blog) as if they were a folder on your Windows computer.
Option A: For Beginners (WinSCP) Download WinSCP. It gives you a “Split Screen” view. Left side is your Windows PC; Right side is your Server. Just drag and drop!
Option B: For Power Users (SSHFS-Win)
- Install WinFSP and SSHFS-Win.
- In Windows File Explorer, right-click “This PC” > Map Network Drive.
- Path:
\\sshfs\user@host.domain.net - Your server now appears as the Z: Drive.
5. The Shortcut System: Using SSH Config
Goal: Stop typing long IP addresses and usernames.
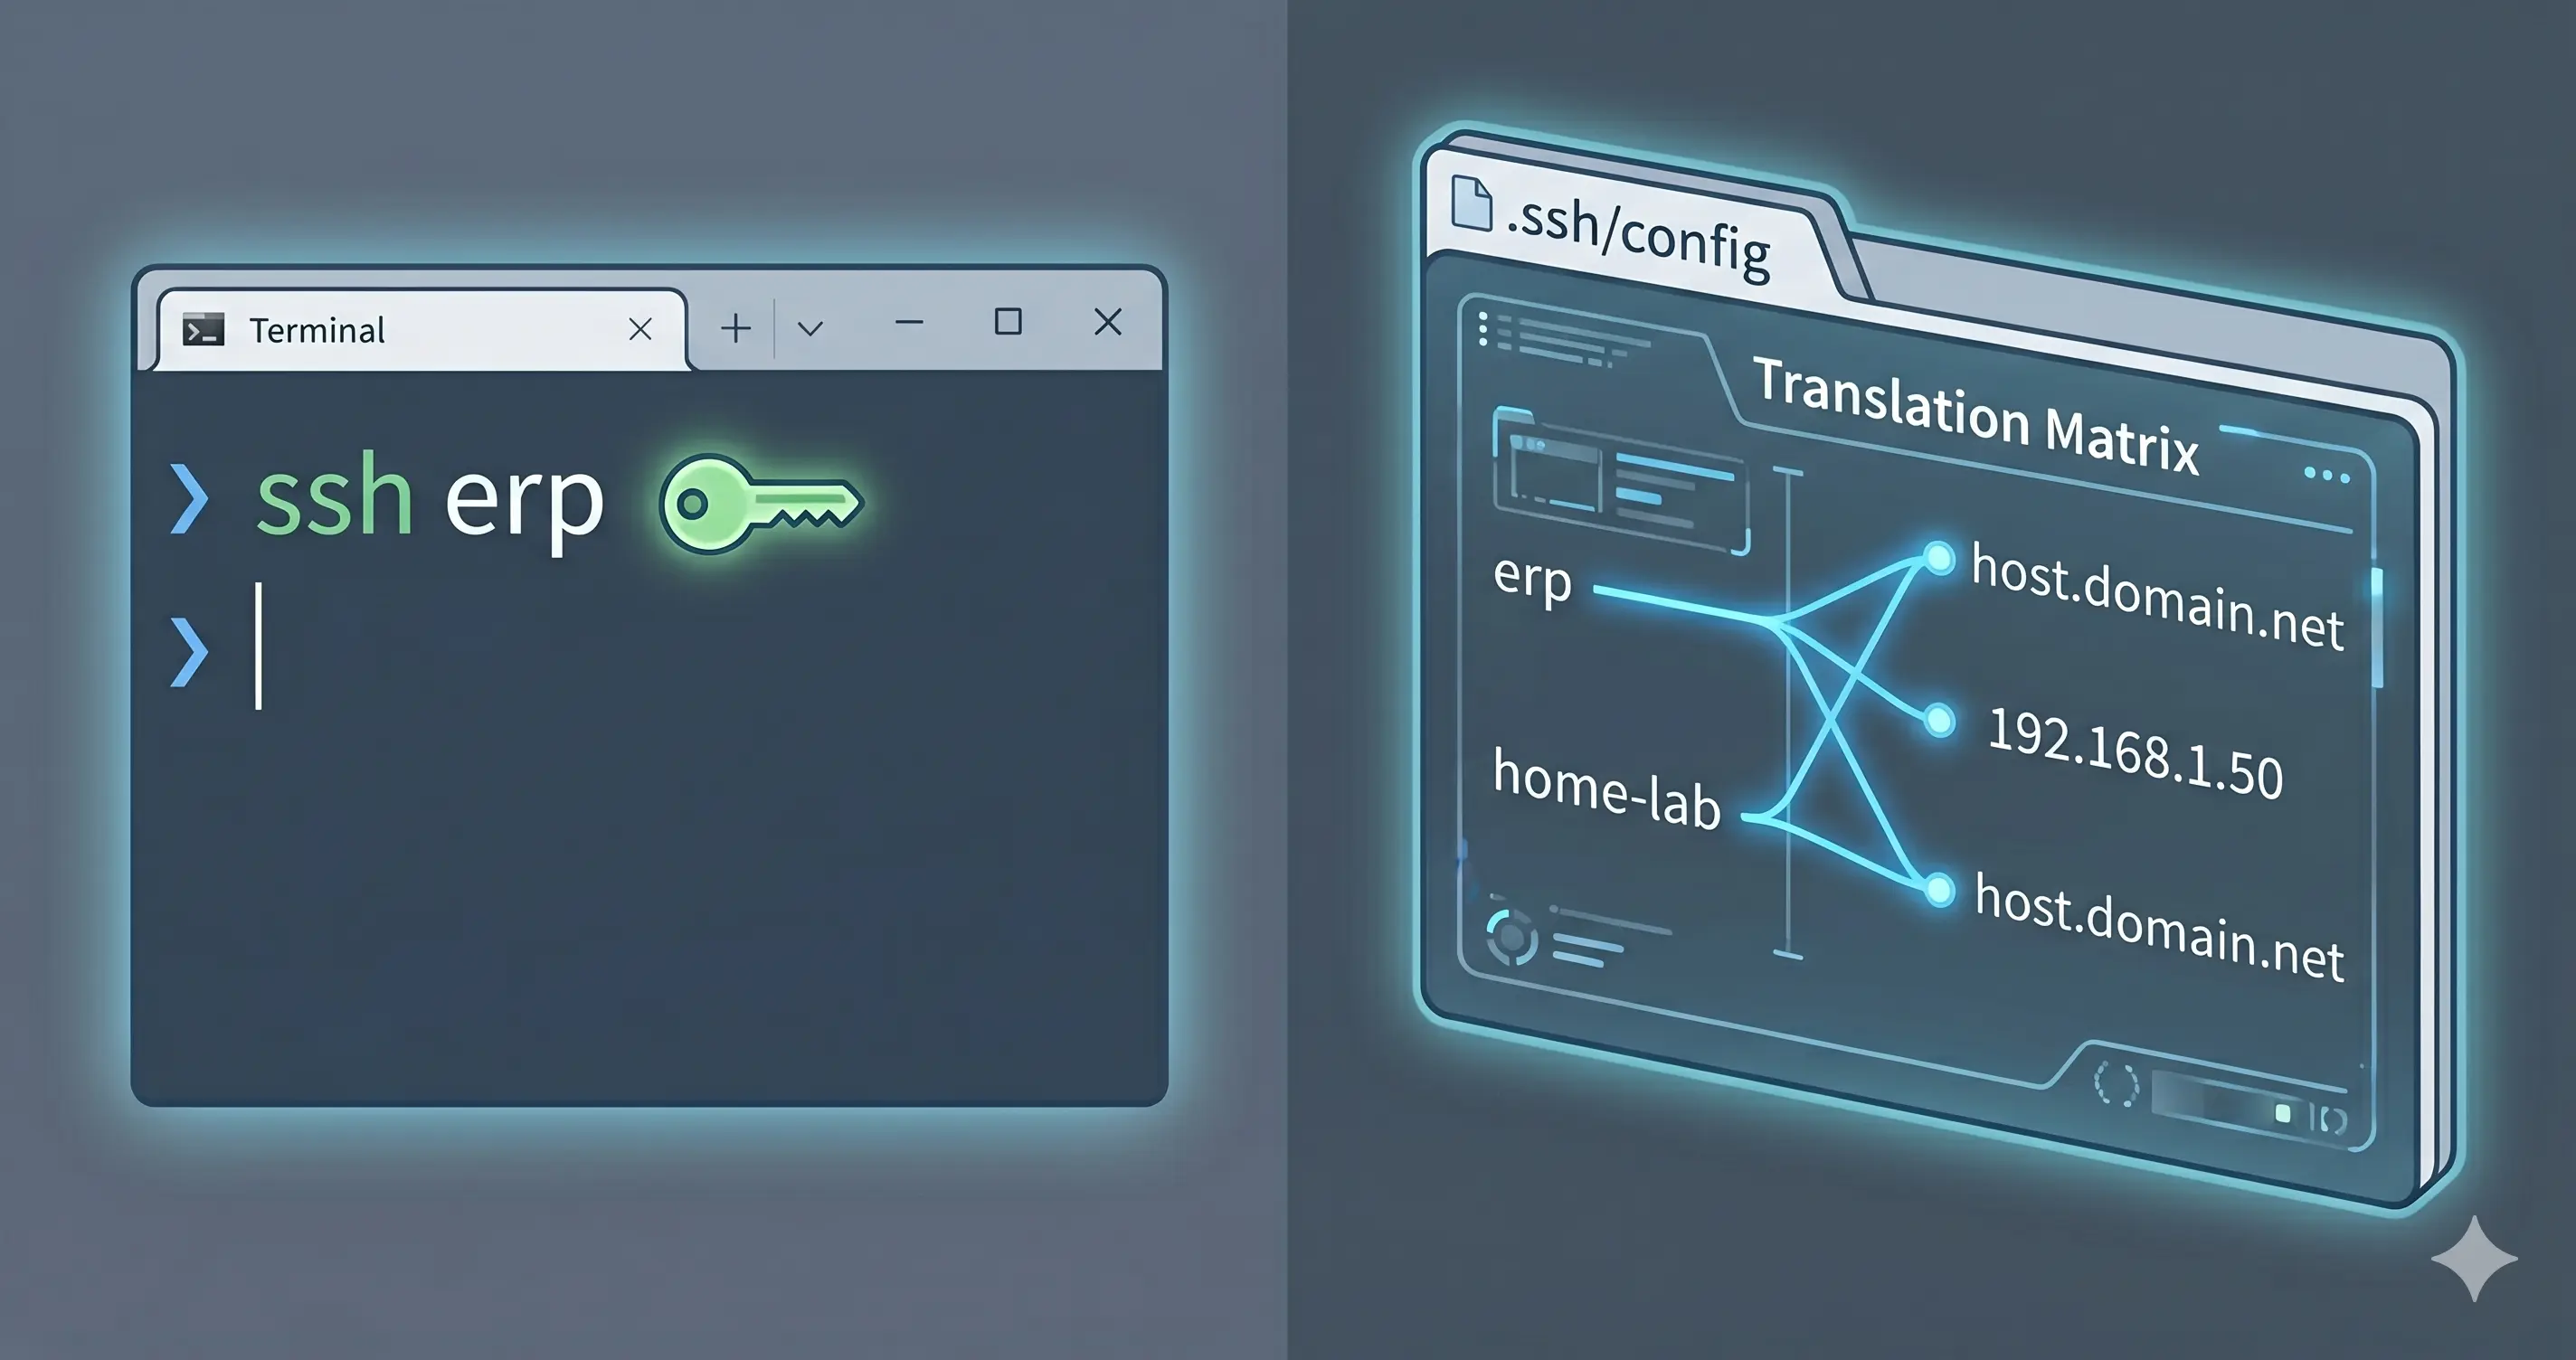
Create a file at C:\Users\YourName\.ssh\config and add this:
1
2
3
4
5
6
7
8
Host erp
    HostName host.domain.net
    User user

Host home-lab
    HostName 192.168.1.50
    User admin
The Result: Now, simply type ssh erp and you’re in.
Final Summary Table
| Feature | Flag/Tool | Best For… |
|---|---|---|
| SOCKS Proxy | -D | Privacy & Bypassing Firewalls |
| Jump Host | -J | Secure Business Infrastructure |
| Remote Forward | -R | Sharing Local Development |
| Mount Drive | sshfs | Editing Remote Files Natively |
Mastering these commands allows you to manage infrastructure efficiently from any Windows machine, whether you’re at the office in Cebu or working remotely.