Zero to Portfolio: Building Your First Professional Website with Next.js and GitHub Pages
As a fresh graduate or someone just starting their development journey, you probably want to showcase your projects, but you don’t want to deal with the headache of expensive hosting, server management, or databases.
The “holy grail” for a developer’s first portfolio is a platform that is:
- Professional: Uses modern stacks like React/Next.js.
- Free: Costs $0 to host.
- Automated: Updates every time you push new code to GitHub.
Here is the exact blueprint to get your first professional portfolio live.
1. Why Next.js + GitHub Pages?
Usually, Next.js applications need a “server” (Node.js) to run. GitHub Pages, however, is a static host—it can only read simple files like .html, .css, and .js.
You might think, “If Next.js needs a server, how can I host it on GitHub Pages for free?”
The answer is Static Export. We will tell Next.js to take your entire application and “freeze” it into a set of plain HTML/CSS files. This is perfect for a portfolio because it makes your site incredibly fast and completely secure.
2. Setting Up Your Project
First, make sure you have Node.js installed on your computer. Open your terminal and run:
1
2
npx create-next-app@latest my-portfolio --typescript --tailwind --eslint
Follow the prompts. By choosing Tailwind CSS, you’ll have a professional styling system ready to go without needing to write custom CSS from scratch.
3. The “Magic” of output: 'export'
This is the most important step. Without this, your site won’t work on GitHub Pages.
When you run a standard build, Next.js tries to create a server-based app. To tell Next.js to generate a static website instead, you need to update your configuration.
- Open
next.config.ts(ornext.config.js) in your project root. - Add the
outputproperty inside the configuration object:
1
2
3
4
5
6
7
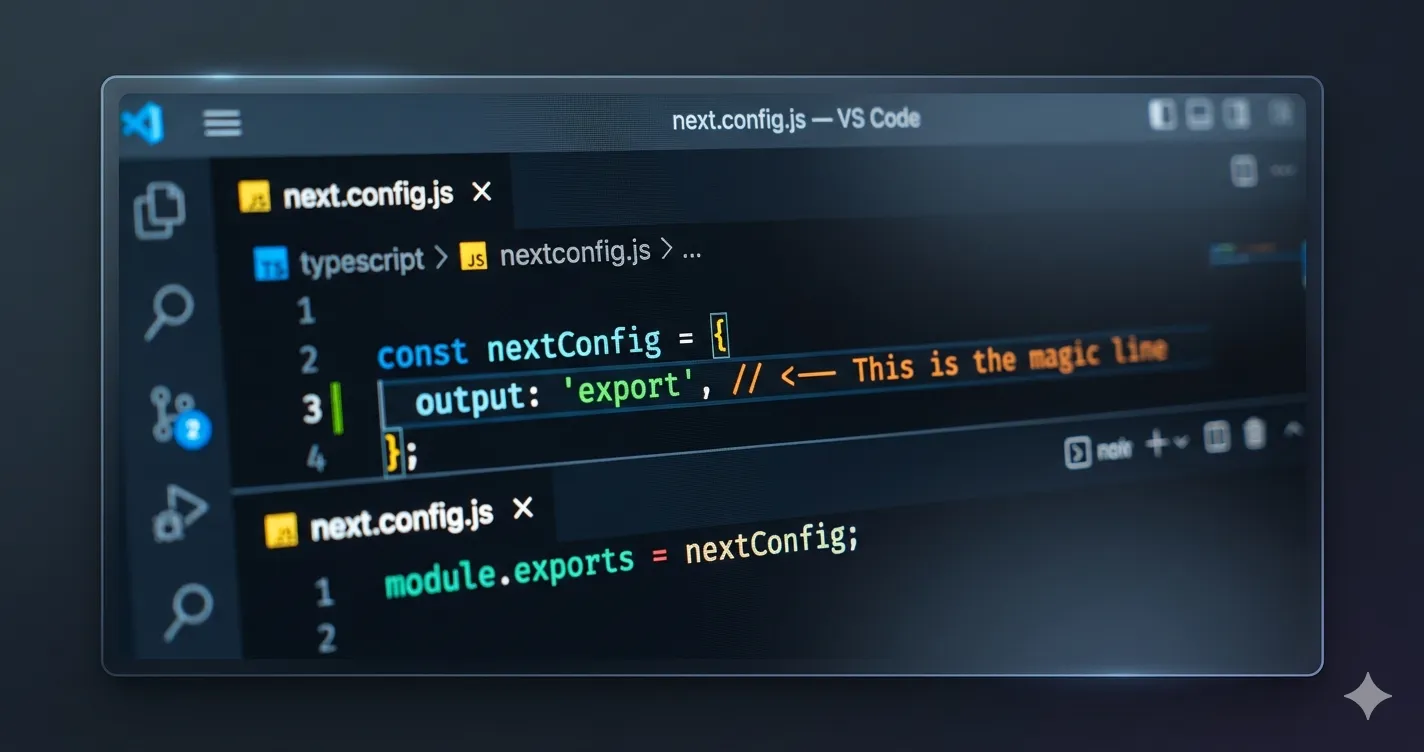
/** @type {import('next').NextConfig} */
const nextConfig = {
output: 'export', // <--- This is the magic line
};
module.exports = nextConfig;
What is happening here?
By setting output: 'export', you are telling the Next.js compiler: “Do not expect a server to exist. Take every page in my app, render it into a static .html file, and put everything into a folder called out/.”
When you run npm run build, check your project folder. You will see a new out/ directory. That folder is your entire website. You can open any .html file inside it, and your site will load perfectly.
4. Deploying to the Cloud (For Free)
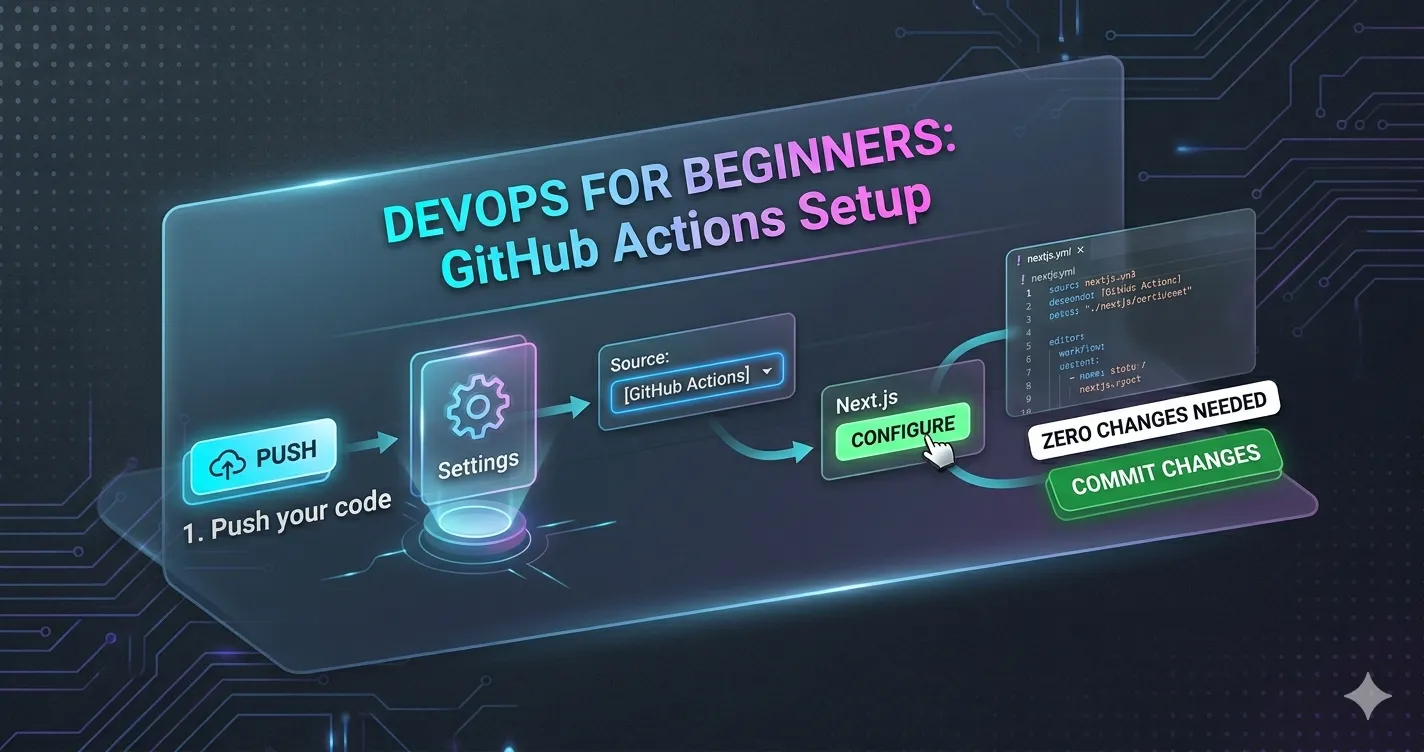
You don’t need to be an expert in DevOps to deploy this. GitHub has a “Configure” button that does the heavy lifting for you.
- Push your code to a new GitHub repository.
- Go to your repository on GitHub.com.
- Click the Settings tab.
- In the left sidebar, click Pages.
- Under Build and deployment, look for the Source dropdown and select GitHub Actions.
- You will see a “Next.js” workflow option. Click the Configure button.
- GitHub will automatically open an editor with a file called
nextjs.yml. You don’t need to change anything! This script tells GitHub: “Every time I push code, build the project and deploy theout/folder to my website.” - Click Commit changes (green button).
5. Your Portfolio is Live
Once you commit that file, GitHub will automatically trigger the deployment.
- Click the Actions tab at the top of your GitHub repository.
- You will see a process running. Once it turns green, your site is live!
- Go back to Settings > Pages to see your URL (e.g.,
[https://yourname.github.io/my-portfolio/](https://yourname.github.io/my-portfolio/)).
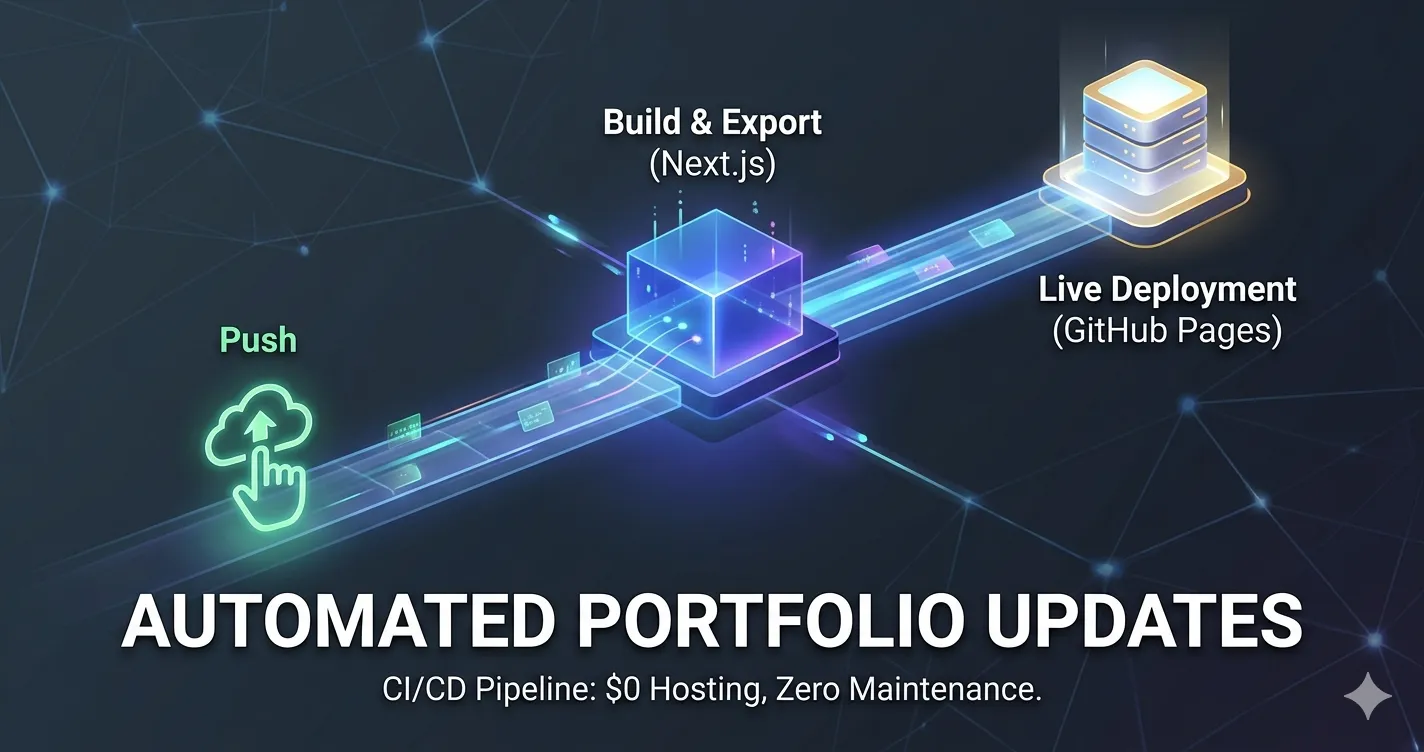
Why this is a “Software Factory” approach
By using this method, you aren’t just creating a “static page.” You are implementing a CI/CD (Continuous Integration/Continuous Deployment) pipeline.
In the professional world, this is how enterprise software is updated. Every time you improve your portfolio, fix a typo, or add a new project, you simply push your code, and the deployment happens automatically. This “hands-off” process is exactly what recruiters and tech leads look for—it shows you understand how to manage and deploy code in a professional environment.
6. Pro-Tip: The Power of Subdomains
Once your site is live at yourusername.github.io/my-portfolio/, you might consider mapping it to a custom subdomain, like portfolio.yourdomain.com.
Why? Because subdomains (like I did with solutions.sanchez.ph) offer significant advantages:
- Memorability: It’s much easier for a recruiter to type than a long GitHub link.
- Professionalism: It creates a dedicated space for your “Software Factory,” making your site feel like a unique, independent product rather than just a hobby project.
- Uniqueness: It makes your portfolio feel more personal to you and your brand.
Pro-tip: Now that your infrastructure is set up, focus on your content. Add a README.md to your repo that acts as your site’s documentation, and keep your next.config.ts clean. You have built a production-grade deployment pipeline for $0. Happy coding!