Getting Started with ESP32 and 1.3" OLED Display
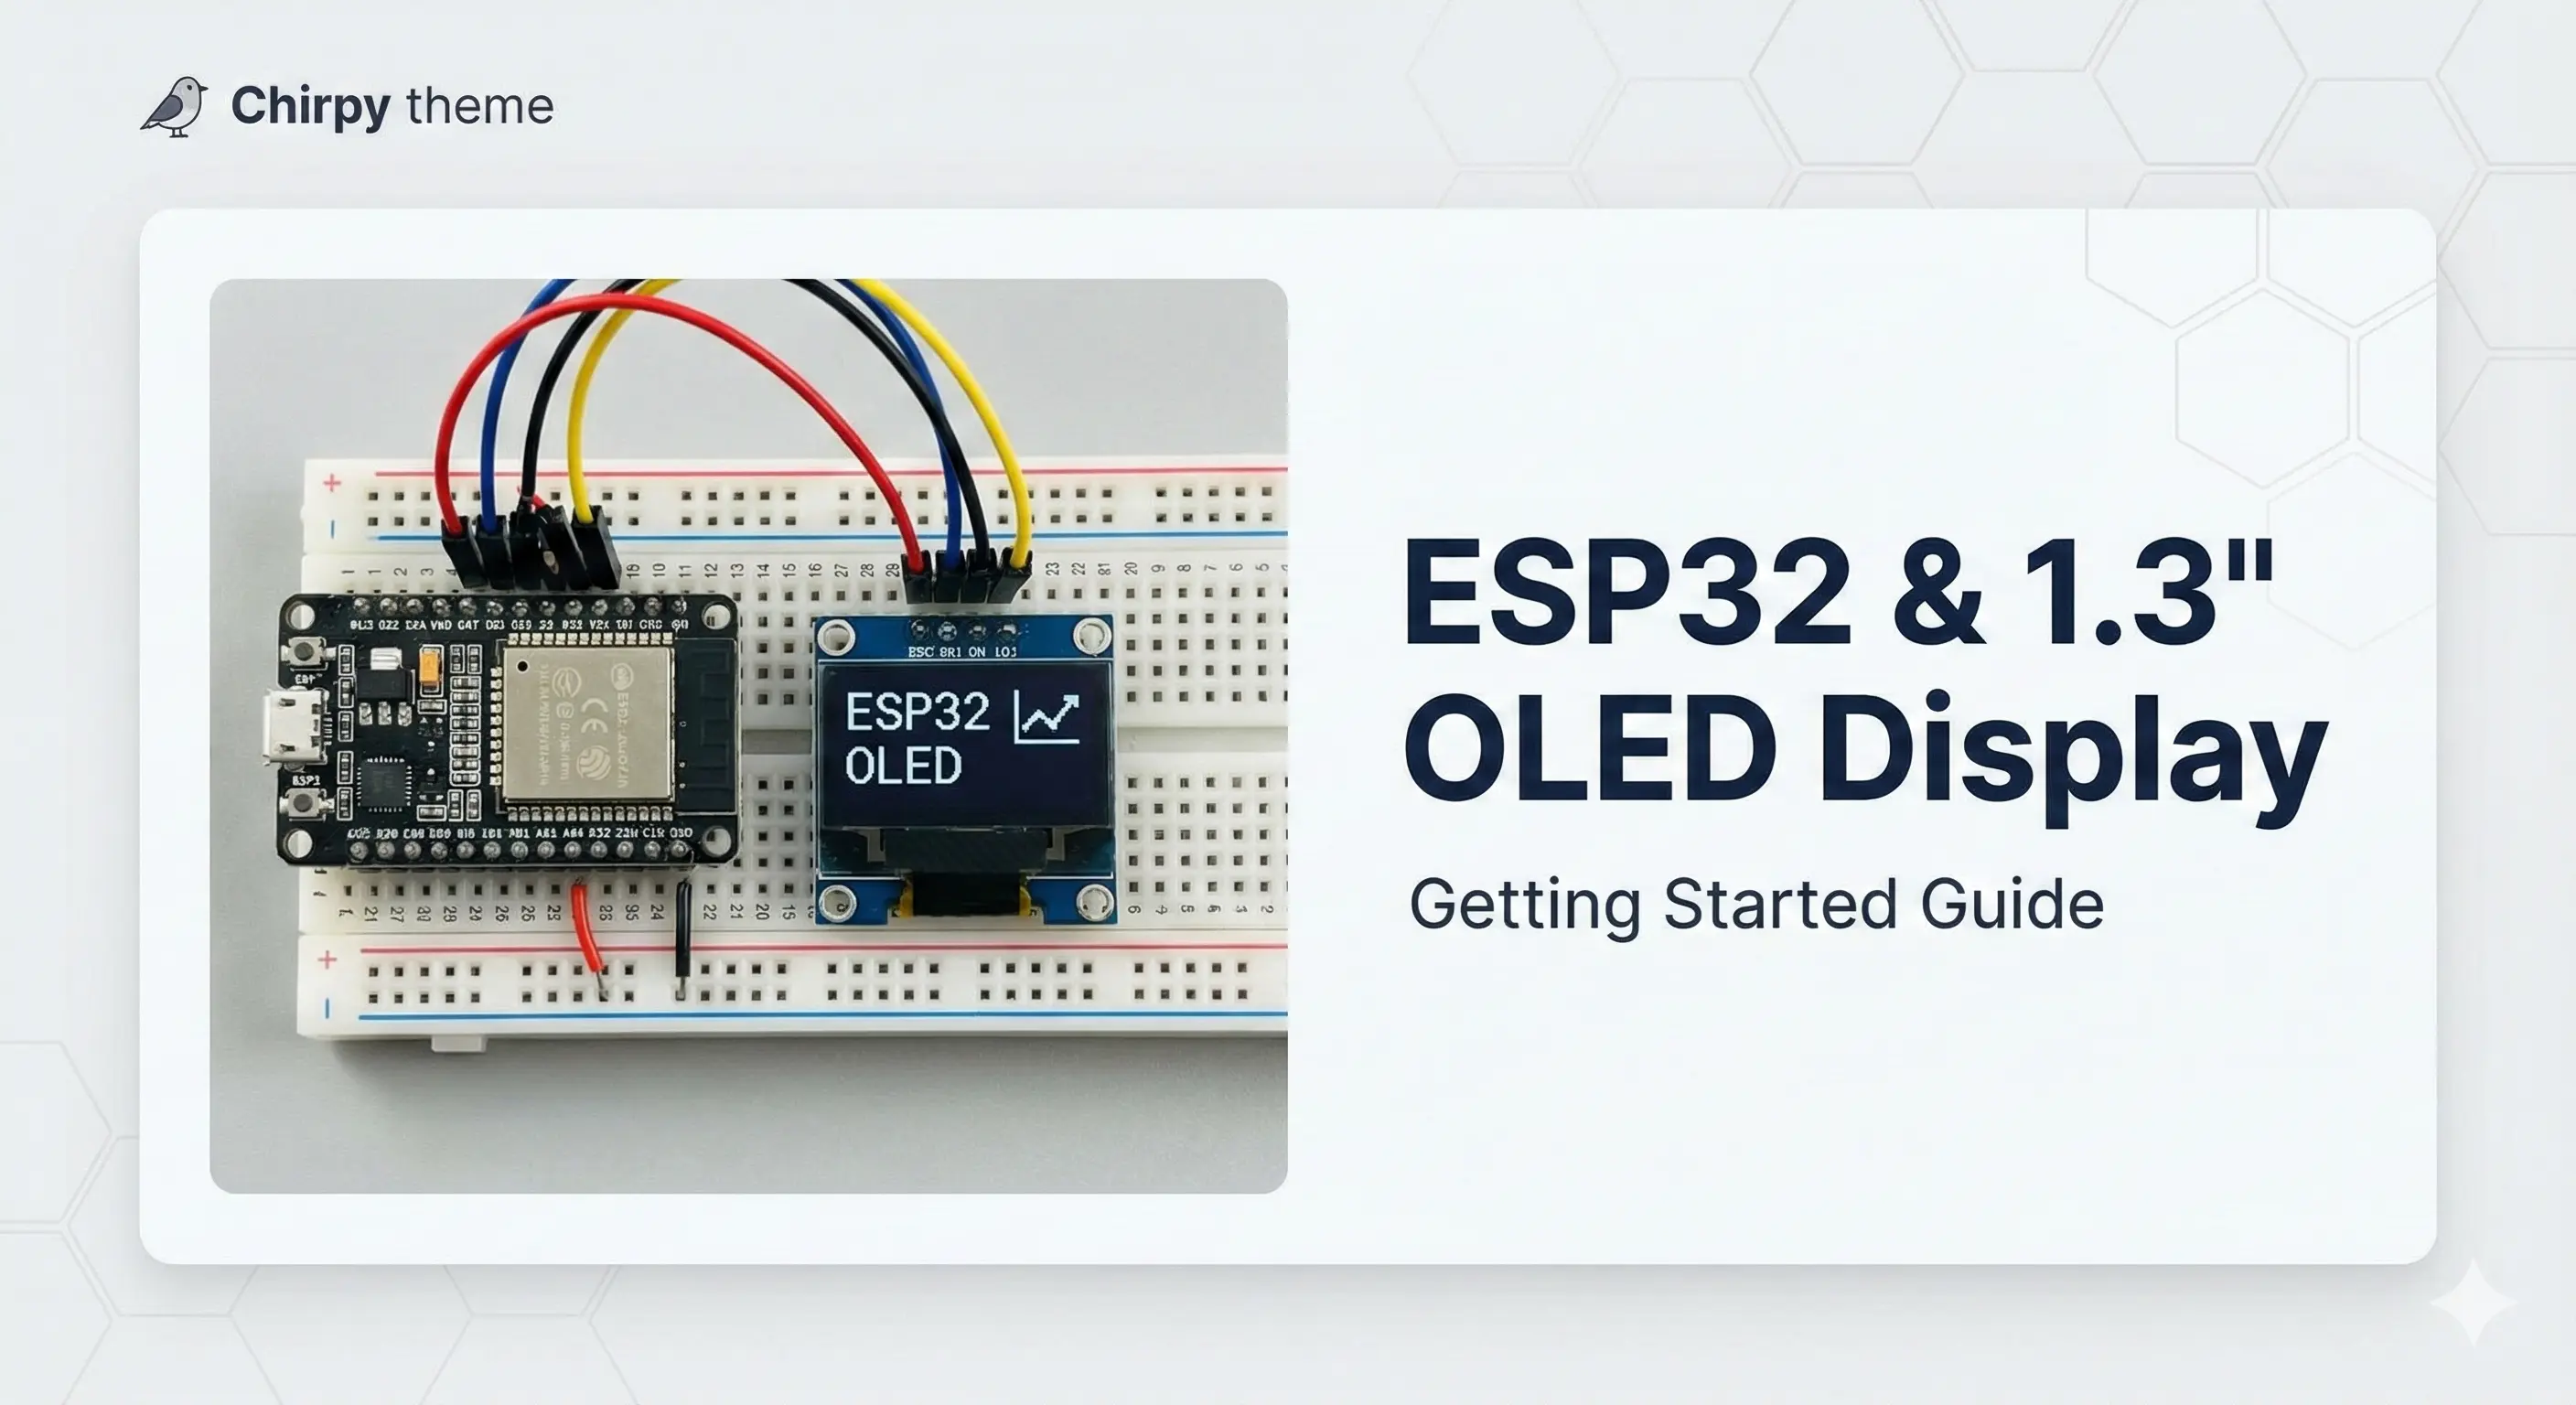
Welcome to this guide on connecting a 1.3-inch OLED display (128x64) to an ESP32 microcontroller. This project demonstrates how to set up the hardware, configure the necessary libraries, and get your display running using either Arduino IDE or PlatformIO.
Repo Reference: You can find the full source code and diagrams in the GitHub Repository.
Hardware Requirements
To follow along, you will need the following components:
- ESP32 Development Board (e.g., CH340C, USB Type C)
- ESP32 Expansion Board (Optional, but recommended for easier wiring)
- 1.3” OLED Display (White, 128x64 resolution, usually SH1106 or SH110X driver)
- Jumper Wires (Female-to-Female or Male-to-Female depending on your board)
- Breadboard
Wiring the Display
This project uses the I2C protocol, which simplifies wiring to just four connections.
| OLED Pin | ESP32 Pin | Description |
|---|---|---|
| GND | GND | Ground |
| VCC | 3.3V / 5V | Power |
| SDA | GPIO 21 | Data |
| SCL | GPIO 22 | Clock |
 Figure 1: Connection diagram for ESP32 and OLED
Software Setup
You can choose between Arduino IDE or VS Code with PlatformIO.
Option A: Arduino IDE
- Open the Arduino IDE.
- Navigate to Sketch > Include Library > Manage Libraries.
- Search for and install the following:
Adafruit SH110XAdafruit GFX Library
- Copy the code from the repository’s
src/main.cppinto your sketch.
Option B: PlatformIO (VS Code)
If you are using PlatformIO, ensure your platformio.ini file includes the required dependencies.
1
2
3
4
5
6
7
[env:esp32dev]
platform = espressif32
board = esp32dev
framework = arduino
lib_deps =
    adafruit/Adafruit SH110X @ ^2.1.8
    adafruit/Adafruit GFX Library @ ^1.11.5
The Code
The core logic utilizes the Adafruit libraries to handle the graphics. Here is a conceptual snippet of how the initialization looks in src/main.cpp:
1
2
3
4
5
6
7
8
9
10
11
12
13
14
15
16
17
18
19
20
21
22
23
24
25
26
27
28
29
30
31
32
33
#include <SPI.h>
#include <Wire.h>
#include <Adafruit_GFX.h>
#include <Adafruit_SH110X.h>

/* 1.3" OLED usually uses I2C Address 0x3C */
#define i2c_Address 0x3c

#define SCREEN_WIDTH 128
#define SCREEN_HEIGHT 64
#define OLED_RESET -1

Adafruit_SH1106G display = Adafruit_SH1106G(SCREEN_WIDTH, SCREEN_HEIGHT, &Wire, OLED_RESET);

void setup() {
  Serial.begin(115200);

  // Initialize the display
  display.begin(i2c_Address, true);
  display.display();
  display.clearDisplay();

  // Text settings
  display.setTextSize(1);
  display.setTextColor(SH110X_WHITE);
  display.setCursor(0, 0);
  display.println("Hello ESP32!");
  display.display();
}

void loop() {
  // Main loop logic
}
Note: The 1.3” OLEDs often use the SH1106 driver rather than the SSD1306 found in smaller 0.96” displays. The
Adafruit_SH110Xlibrary handles this perfectly.
Simulation
Don’t have the hardware yet? You can simulate this project online using Wokwi.
Troubleshooting
If your display remains black:
- Check Wiring: Ensure SDA and SCL are not swapped.
- I2C Address: Verify if your display uses
0x3Cor0x3Dusing an I2C scanner sketch. - Contrast: Sometimes specific initialization commands are needed for different OLED panels.
Conclusion
This setup provides a robust foundation for building IoT dashboards, status monitors, or simple games on the ESP32.
Check out the Demo Video on YouTube to see it in action!
Found this guide helpful? Star the repository to support the project!