How to Build Your Free Website or Blog: From Simple HTML to Professional Chirpy Theme
A comprehensive, step-by-step guide for students and beginners to build a 100% free professional blog using GitHub Pages. Learn how to code a simple HTML site or launch a stunning dark-mode 'Chirpy' theme without spending a cent.
🚀 Launch Your Professional Blog for Free with GitHub Pages
Whether you are a student building a portfolio or a hobbyist sharing your passion, GitHub Pages is the gold standard. It is 100% free, highly reliable, and looks great on a resume.
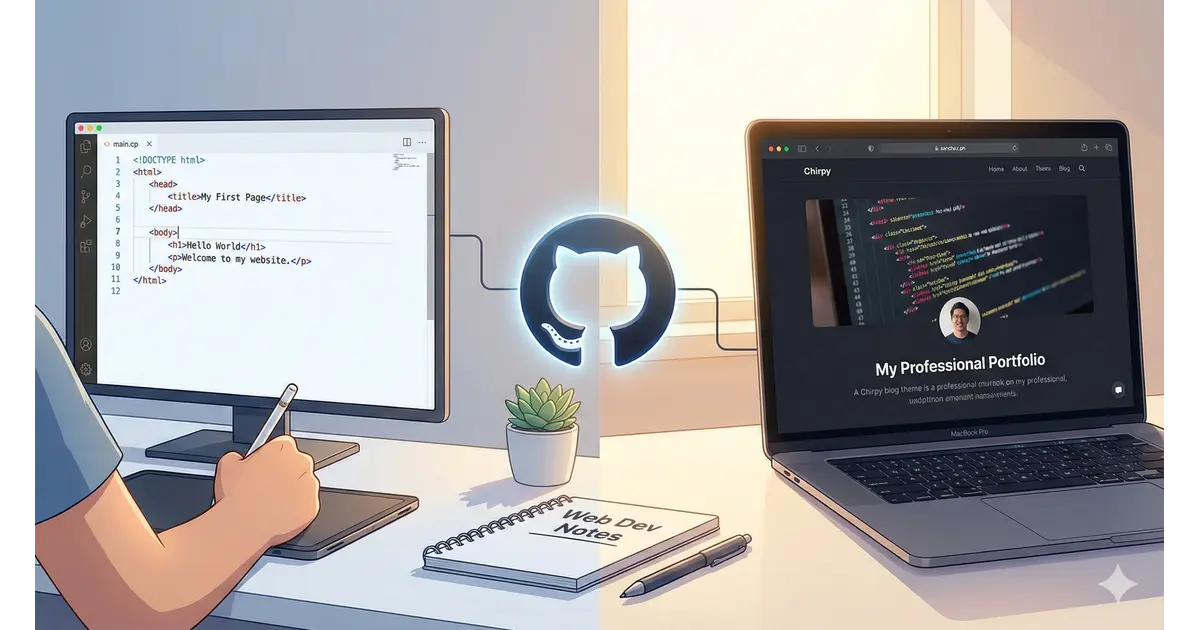
In this guide, we will cover two paths: the Simple HTML method for beginners and the Chirpy Theme for those who want a professional “developer” look.
Phase 1: Create Your GitHub Account
GitHub is the “Cloud” where your website files live.
- Go to GitHub.com.
- Sign up with a professional username.
⚠️ Critical: Your username determines your URL. If your username is
tildemark, your blog will betildemark.github.io. Pick something you like! - Verify your email address to unlock all features.
Phase 2: Create Your Repository
A “Repository” (or repo) is basically a project folder.
- Click the + icon (top-right) and select New repository.
- Repository Name: This must be exactly:
yourusername.github.io - Public/Private: Select Public.
- Check Add a README file.
- Click Create repository.
Phase 3: Choose Your Path
Option A: The “Code Learner” (Simple HTML)
Best for: Learning how the web works from scratch.
- In your repo, click Add file > Create new file.
- Name it
index.html. - Paste this “Starter Code”:
1
2
3
4
5
6
7
8
<!DOCTYPE html>
<html>
  <head><title>My Student Blog</title></head>
  <body>
    <h1>Hello World!</h1>
    <p>This is my first website hosted on GitHub Pages.</p>
  </body>
</html>
- Click Commit changes.
- Preview your page on your browser at: http://yourusername.github.io
Option B: The “Professional” (Chirpy Theme)
Best for: A sleek, dark-mode blog with search, tags, and categories.
- Go to the Chirpy Starter Template.
- Click Use this template > Create a new repository.
- Name this repo
yourusername.github.io(just like in Phase 2). - This copies a professional design into your account.
Phase 4: Activating the Website (Settings)
You must tell GitHub to “Turn on” the website.
- In your repository, click the Settings tab.
- On the left sidebar, click Pages.
- For Option A (HTML): Ensure Source is “Deploy from a branch”. Select
mainand/ (root). - For Option B (Chirpy): Change Source to “GitHub Actions”. This is required for Chirpy to build itself.
Phase 5: Custom Domains & CNAME
If you buy a domain (like sanchez.ph), follow these steps:
- On GitHub: In Settings > Pages, type your domain (e.g.,
www.yourname.com) and click Save. - The CNAME File: GitHub will automatically create a file named
CNAMEin your repo.⚠️ Warning: Do not delete this file! If you delete it, your custom domain will stop working. If you do accidentally delete it, just re-type your domain in the Settings and Save again.
- At your Domain Provider: Add an A Record pointing to these IPs:
185.199.108.153185.199.109.153185.199.110.153185.199.111.153
Phase 6: Enforce HTTPS (Security)
After your domain is linked, wait for GitHub to issue your SSL certificate (this can take up to 24 hours).
- Go back to Settings > Pages.
- Look for Enforce HTTPS.
- Check this box. This ensures visitors see the “Padlock” icon, indicating your site is secure. If it’s grayed out, wait a few more hours and try again.
📝 Writing Your First Post (Markdown Guide)
If you chose Chirpy, you write in Markdown (.md). It’s simpler than coding!
| Feature | How to Type It | Result |
|---|---|---|
| Headers | # Header 1 or ## Header 2 | Large bold titles |
| Emphasis | **Bold Text** or *Italic* | Bold Text or Italic |
| Lists | * Item 1 or 1. Item 1 | Bulleted or Numbered lists |
| Links | [Click Me](https://google.com) | Click Me |
| Images |  | Displays the image |
| Quotes | > This is a quote | Blockquotes |
| Code | `inline code` | inline code |
🛠️ Troubleshooting
| Problem | Cause & Fix |
|---|---|
| 404 Not Found | Fix: Wait 2 minutes. GitHub needs time to build the site. Also, check that your repo name is exactly username.github.io. |
| Chirpy is all white/broken | Fix: Open _config.yml and check the url line. It must be https://username.github.io with no slash at the end. |
| Post won’t show up | Fix: Check the file name in the _posts folder. It MUST be YYYY-MM-DD-title.md. If the date is in the future, it won’t show up yet! |
| CNAME issues | Ensure you didn’t accidentally delete the CNAME file in your main folder. |
| Red “X” in Actions | Click the Actions tab. It will tell you the error. Usually, it’s a typo in the _config.yml file. |
Summary for Newbies
- HTML Path: Fast, simple, you control every pixel.
- Chirpy Path: Professional, uses Markdown, handles the design for you.
- Settings: Remember—HTML uses “Deploy from Branch,” while Chirpy uses “GitHub Actions.”